
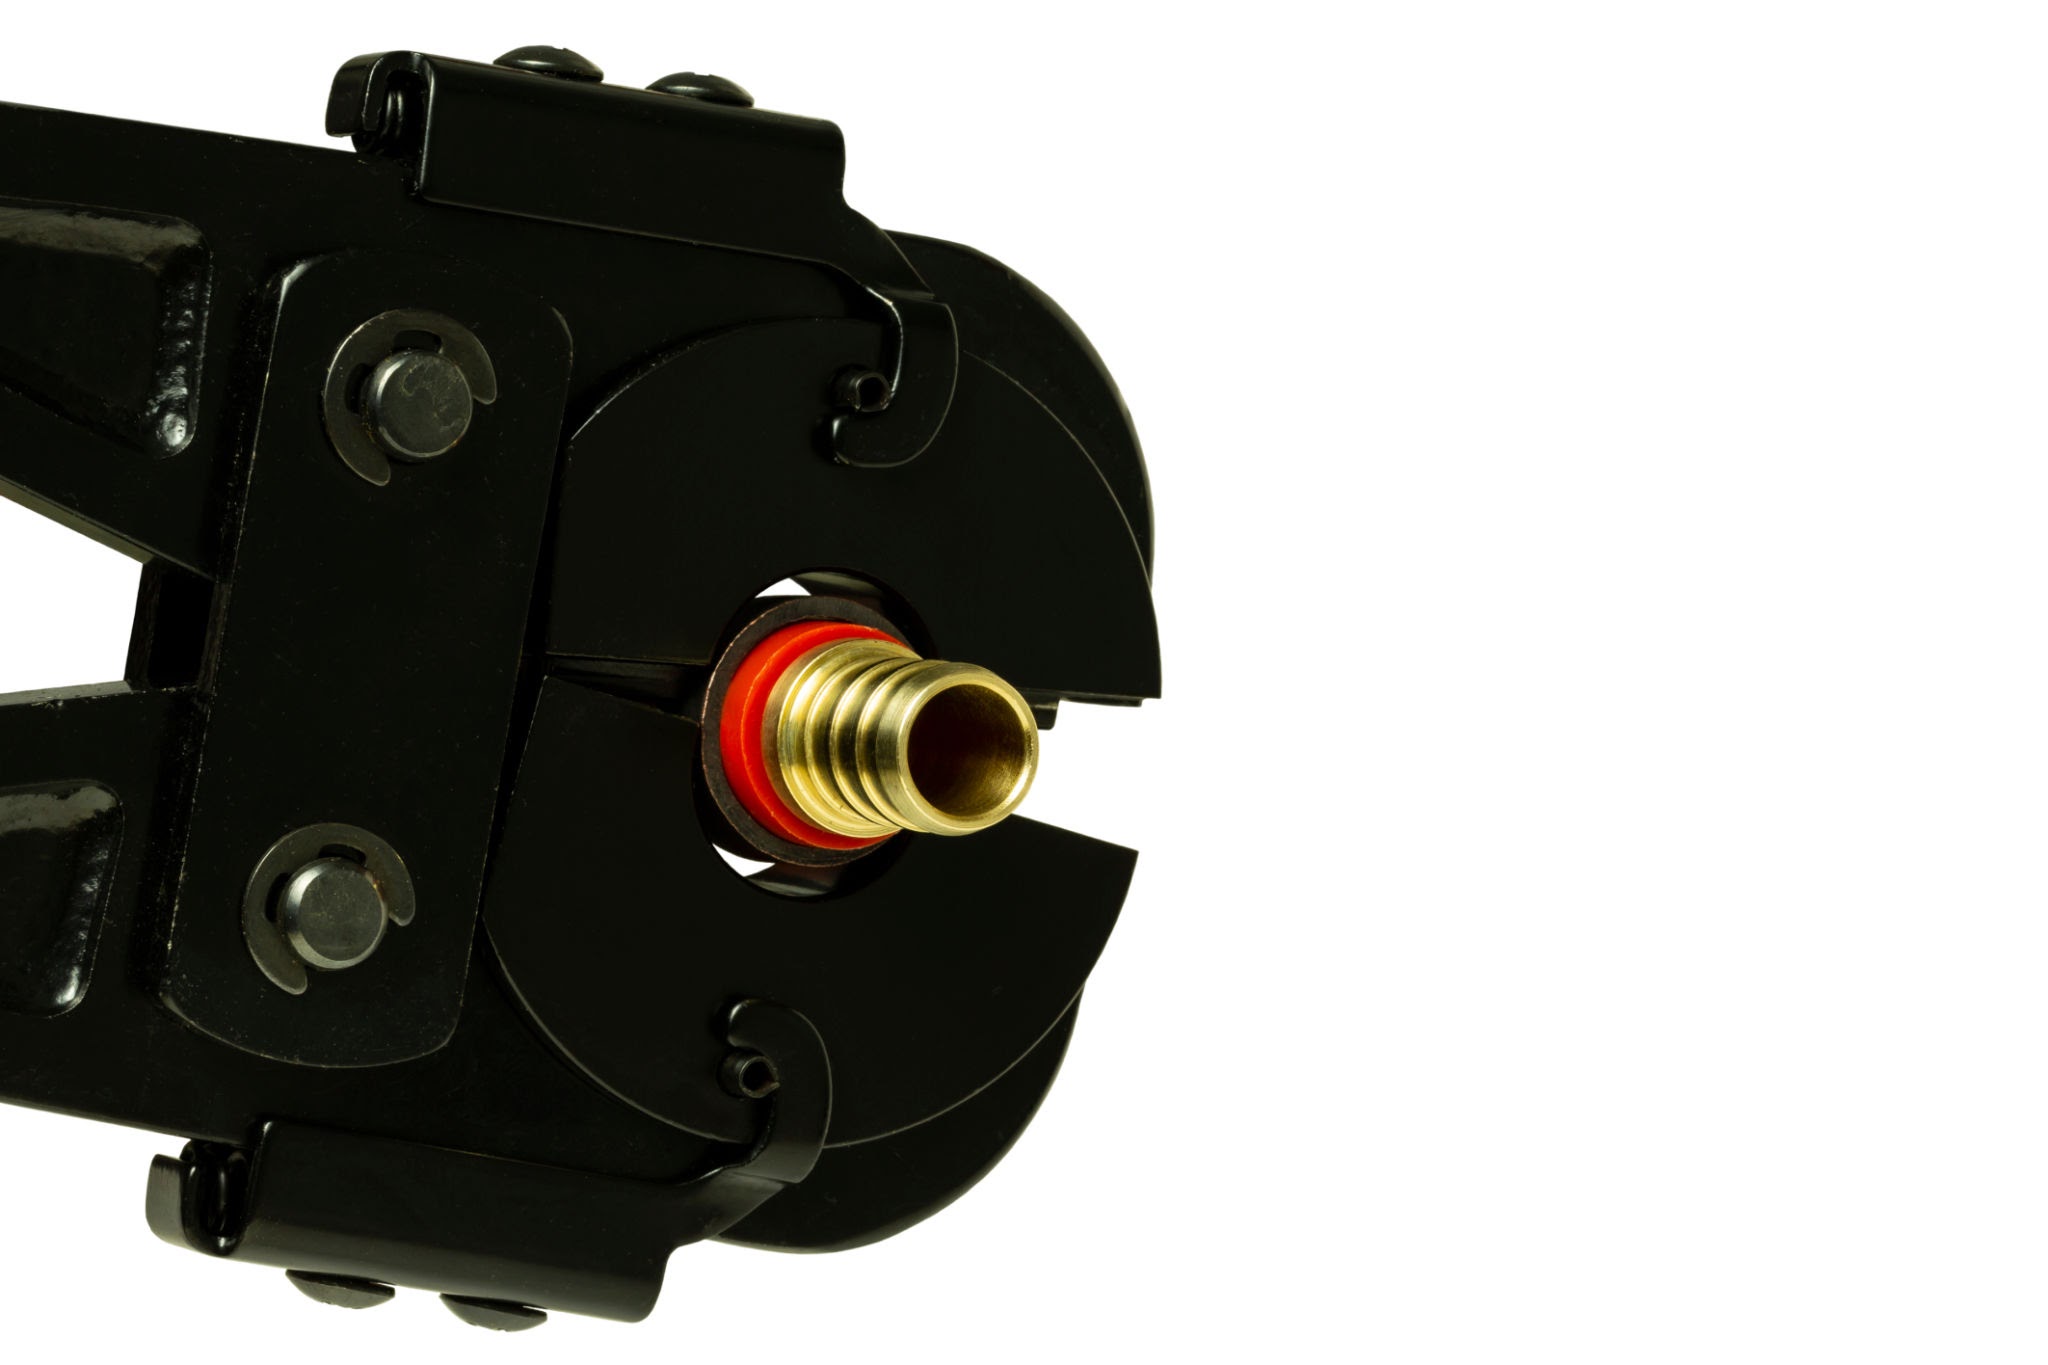
PEX plumbing has become a popular choice for residential and commercial water systems because it is flexible, lightweight, and relatively easy to install. One of the most important tools used in traditional PEX installation is the PEX crimp tool. This hand-operated tool helps create secure connections between PEX tubing and compatible fittings.
Whether you are a professional plumber, DIY enthusiast, or homeowner learning about PEX plumbing, understanding how a crimp tool works can help you make better decisions when working on a plumbing project.
What Is a PEX Crimp Tool?
A PEX crimp tool is a specialized hand tool designed to connect PEX tubing to fittings using copper or stainless-steel crimp rings, depending on the system. The tool applies controlled pressure to the crimp ring, tightening it around the PEX tubing and fitting.
A properly made connection creates a strong mechanical joint that can withstand normal water pressure when the correct components and installation procedures are used.
PEX crimp tools are commonly available in several sizes because different PEX tubing diameters require different crimp rings or compatible jaws.
How Does a PEX Crimp Tool Work?
The basic process is straightforward. First, the appropriate crimp ring is placed over the end of the PEX tubing. The fitting is then inserted into the tubing until it reaches the correct position.
Next, the crimp tool is positioned over the ring. When the handles are squeezed, the jaws compress the ring around the tubing and fitting.
The finished connection should then be checked using the appropriate inspection method for the particular PEX system. Some installations may also require a go/no-go gauge or another manufacturer-approved inspection procedure.
The exact technique can vary between manufacturers, so following the instructions supplied with the tubing, fittings, and tool is important.
Main Types of PEX Crimp Tools
Not every PEX crimp tool is identical. Understanding the different options can make it easier to choose the right tool for your project.
1. Standard Hand Crimp Tool
The standard hand-operated crimp tool is one of the most common choices for small plumbing projects. It usually has two handles and interchangeable or fixed jaws.
It does not require electricity or batteries, making it convenient for repairs and installations where portability is important.
2. Ratcheting PEX Crimp Tool
A ratcheting model uses a ratchet mechanism that helps control the crimping process. The mechanism generally keeps the tool engaged until the required crimping action has been completed.
This design can help provide more consistent results and may be useful when making numerous connections.
3. Multi-Size PEX Crimp Tool
Some tools are designed to work with multiple PEX sizes. These models can be useful for plumbers who regularly work with different tubing diameters.
However, users should always verify that the tool is compatible with the specific crimp rings and fittings being used.
4. Compact PEX Crimp Tool
Compact versions are designed for tight spaces. Their smaller profile can be helpful when installing plumbing inside cabinets, wall cavities, or other areas where a full-size tool is difficult to position.
Why Is a Good PEX Crimp Tool Important?
The quality of the crimping tool can affect the consistency of plumbing connections. A tool that is properly matched to the crimp ring can help create reliable joints when used correctly.
A poorly selected or incorrectly used tool can produce an improperly compressed ring. This may increase the possibility of leaks or connection failure.
For this reason, compatibility is more important than simply choosing the cheapest tool available.
How to Use a PEX Crimp Tool
A typical PEX crimping process includes several steps:
- Cut the PEX tubing cleanly.
Use a suitable PEX tubing cutter to make a straight cut. - Place the crimp ring on the tubing.
Position the ring according to the fitting manufacturer’s instructions. - Insert the fitting.
Push the compatible fitting into the PEX tubing to the required depth. - Position the crimp tool.
Place the jaws around the crimp ring in the recommended position. - Compress the ring.
Squeeze the handles firmly and completely according to the tool’s instructions. - Inspect the connection.
Check the completed joint using the manufacturer’s recommended inspection method. - Test the plumbing system.
Before closing walls or concealing connections, pressure-test the system according to applicable plumbing requirements.
Common Mistakes to Avoid
Even though PEX installation can be relatively simple, mistakes can still occur.
Using the Wrong Crimp Ring
A crimp ring must be compatible with the tubing, fitting, and crimping system. Mixing incompatible components can result in an unreliable connection.
Cutting Tubing at an Angle
A clean, straight cut helps the fitting seat properly inside the tubing. A rough or angled cut can interfere with proper installation.
Using an Incorrect Tool
Different connection systems require different tools. A tool designed for one type of PEX connection should not automatically be assumed to work with another.
Forgetting to Inspect Connections
Every connection should be checked before the plumbing system is put into normal service. Early inspection can identify installation problems before they become expensive repairs.
Choosing the Right PEX Crimp Tool
When purchasing a PEX crimp tool, consider several factors.
Compatibility: Check the tubing size, fitting type, and crimp-ring specifications.
Build quality: A durable tool can be useful for repeated installations and professional work.
Handle design: Comfortable handles can reduce hand fatigue during larger projects.
Size: A compact tool may be easier to use in restricted spaces, while a larger model may provide better leverage.
Adjustability: Some tools offer adjustable or interchangeable components for different PEX sizes.
Inspection features: Certain systems include gauges or other methods for checking completed crimps.
PEX Crimp Tool vs. Other PEX Connection Methods
PEX plumbing can be installed using several connection technologies, including crimp, clamp, expansion, and push-fit systems.
A crimp system typically uses a crimp ring and a specialized tool. Clamp systems use a clamp ring and a different type of tool. Expansion systems use specially designed fittings and an expansion tool.
The best option depends on the specific plumbing system, local requirements, available tools, and manufacturer’s specifications.
Maintenance Tips for a PEX Crimp Tool
Taking care of your tool can help maintain its performance.
Keep the tool clean and dry after use. Inspect the jaws for damage, excessive wear, or debris. Store the tool in a dry location and follow the manufacturer’s recommendations for lubrication or adjustment.
If a tool becomes damaged or produces inconsistent crimps, it should be inspected or replaced rather than used on critical plumbing connections.
Final Thoughts
A PEX crimp tool is a simple but important piece of equipment for plumbing systems that use compatible PEX crimp connections. Choosing the correct tool, using compatible components, making clean tubing cuts, and following the manufacturer’s installation instructions are all important parts of creating dependable connections.
For occasional DIY projects, a basic hand crimp tool may be sufficient. Professionals or people completing larger installations may prefer a durable ratcheting or multi-size model.
Most importantly, always verify compatibility between the tubing, fittings, rings, and tool before beginning an installation. Proper preparation and careful installation can make PEX plumbing work more efficient and reliable.
About The Author
